My room is small. I measured it once. The entire space could fit inside some people’s living rooms twice over. For a long time I believed this disqualified me from creating videos. Every creator I watched online seemed to have a dedicated studio, or at least a spacious bedroom with a feature wall and decorative plants and soft natural light streaming through large windows.
My reality was a cramped room in a Lagos apartment. One small window. A ceiling fan that could not be turned off during hot afternoons without risking heatstroke. Walls that had seen better paint days. A neighbour’s generator that ran on its own unpredictable schedule.
I delayed recording videos for months because I was waiting for a better space. That was a mistake. The space I had was enough. I just needed to learn how to use it.
The Camera Does Not See What You See
When you stand in your room, you see everything. The pile of clothes on the chair. The cables under the desk. The crack in the wall. Your eyes take in the full scene.
A camera lens is different. It sees only what you point it at. If you frame your shot tightly, the camera sees a clean section of wall and your face. It does not see the mess outside the frame.
This is the first lesson of filming in a small room. You do not need the whole room to look good. You need a small section of it to look good on camera. That section is your filming zone. The rest of the room is irrelevant.
My filming zone is roughly one meter wide and one meter deep. It includes the section of wall directly behind me when I sit at my desk, the desk itself, and the space where I sit. Everything outside that zone could be chaos and the camera would never know.
Creating a Clean Background
The wall behind me needed work. It was not terrible. It was just not professional. Faint marks, uneven paint, a shadow from where a picture used to hang.
I bought a plain bedsheet. Grey. No pattern. Cost two thousand naira from a local store. I hung it behind me using small adhesive hooks that stick to the wall. The hooks cost a few hundred naira.
The sheet covers the section of wall visible in my videos. It creates a neutral background that does not distract from the content. Grey works for me. Other neutral colours work too. Avoid white because it can cause exposure problems. Avoid busy patterns because they distract.
Some creators paint a section of wall. Others use a portable backdrop stand. I chose the sheet because it was the cheapest option that worked. The hooks allow me to take it down and wash it when needed.
The key is that the background is consistent across videos. When viewers see my content, they recognize the grey background. It becomes part of my visual brand. Consistency matters more than expense.
Lighting a Small Space
Lighting was my biggest challenge. My room has one window. It faces a direction that gets direct sunlight only briefly in the morning. The rest of the day, the natural light is dim and inconsistent.
I started by positioning my desk to face the window. Natural light from the front is flattering. It fills the face evenly and creates a soft look. On bright mornings, this was enough.
The problems were obvious. Cloudy days ruined the light. Afternoons lost the light entirely. Evenings were impossible. I needed artificial light.
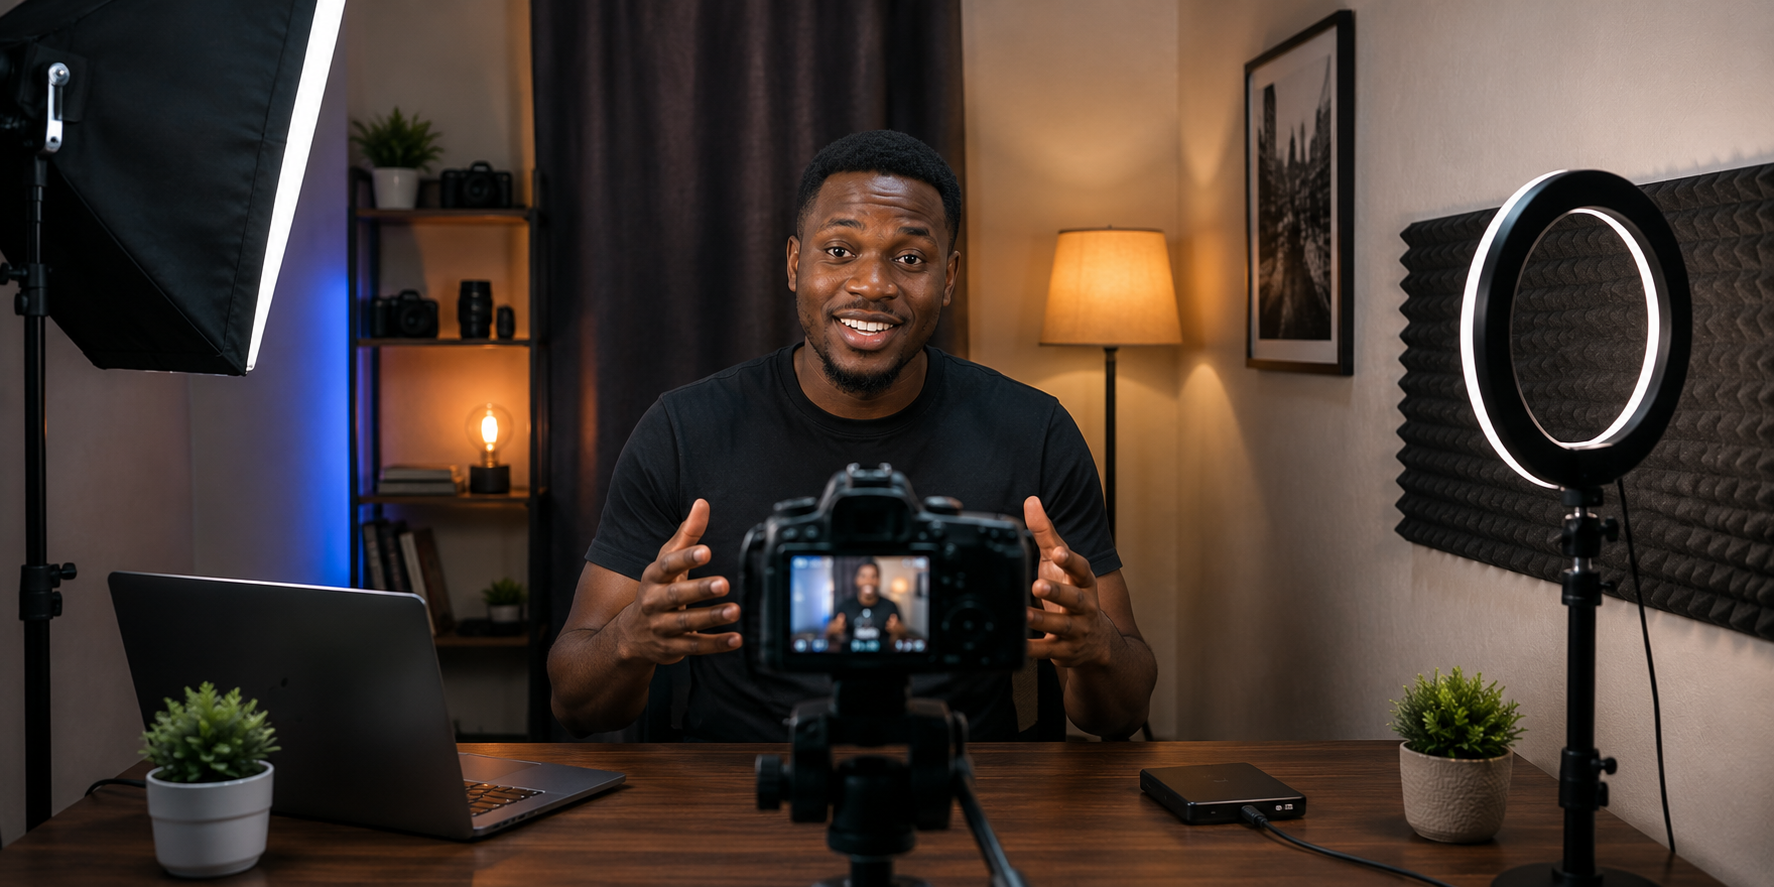
My ring light sits on a small tripod on my desk, directly behind my phone. It cost twelve thousand naira. The light is positioned slightly above eye level and angled down toward my face. This creates a natural shadow pattern that mimics daylight.
The ring light takes up desk space. In a small room, desk space is precious. I accept this because good lighting transforms video quality more than any other single factor.
Positioning matters more than the light itself. Light directly in front of the face is the most forgiving for beginners. Light from the side creates shadows that can look dramatic or unprofessional depending on skill. Frontal lighting is safer.
I close my curtain when using artificial light. This blocks the inconsistent natural light and gives me full control over the lighting environment. The room looks the same whether I record at 10am or 10pm.
Managing Sound in a Small Room
Small rooms have bad acoustics. Sound bounces off close walls and creates echo. Hard surfaces reflect noise. Soft surfaces absorb it.
My room has a bed which helps. The mattress and bedding absorb sound. The curtain over the window helps. The rug on the floor helps. Soft surfaces reduce echo naturally.
The ceiling fan was a problem. It creates constant background noise. On cooler days, I turn it off while recording. On hot days, I cannot. The heat makes recording uncomfortable and my discomfort shows on camera.
I position my lavalier microphone close to my mouth. The proximity captures my voice strongly while the fan noise remains in the background. The microphone does not eliminate the noise. It makes my voice dominant over the noise.
After recording, I use CapCut noise reduction to clean the audio further. The combination of close microphone placement and software noise reduction produces audio where the fan is barely noticeable.
The generator outside is harder. It is louder and less predictable than the fan. When it runs, I pause recording and wait. Sometimes the pause is short. Sometimes I reschedule recording entirely.
Framing the Shot
My phone sits on a tripod on my desk, about an arm’s length from my face. The tripod extends to raise the phone to eye level. Recording from eye level or slightly above is more flattering than recording from below.
I use the rear camera for recording. It produces better quality than the front camera. The problem is I cannot see myself while recording with the rear camera. I solve this by placing a small mirror behind my phone. The mirror shows me the phone screen reflection. I can see whether I am framed correctly.
This mirror trick cost nothing. I used a small handheld mirror I already owned, propped against a book behind the phone. It is not elegant but it works.
I frame the shot so my face and shoulders fill most of the screen. There is a small amount of space above my head. The grey background fills the rest. The framing is tight because the room is small. Tight framing on a talking head video looks intentional, not cramped.
The Desk Setup
My desk faces the wall. The wall with the grey background. When I sit at the desk to record, I clear everything except what is absolutely necessary.
Phone on tripod. Ring light behind phone. Mirror behind phone. Microphone clipped to my collar. That is everything visible in the frame.
The rest of my desk, which is cluttered with notebooks, cables, and random items, is outside the frame. The camera does not see it.
This selective visibility is the core skill of filming in a small room. You control what the camera sees. Everything else can exist in its natural messy state.
Recording Without Disturbing Others
I share my living space. Recording involves talking at normal volume for extended periods. This could disturb others.
I record when the apartment is relatively quiet. Early afternoon during weekdays when others are occupied. Late evening when the neighbourhood settles.
I inform the people I live with when I am about to record. A simple “I am recording for the next hour” prevents interruptions. They know not to knock on my door during that window.
Reciprocity matters. They accommodate my recording schedule. I keep recording sessions reasonable in length and I am flexible when they need quiet. Mutual respect makes shared space recording possible.
What Still Frustrates Me
The generator will never be predictable. I lose recording time to it regularly.
The heat on days when I cannot use the fan is genuinely uncomfortable. I sweat. My face shines on camera. I take breaks to cool down.
The small space limits camera angles. Every video features the same framing. I would like variety but my room does not offer alternative backgrounds.
Recording in this space requires accepting these frustrations. They do not disappear. I manage them. Some days management fails and I record nothing. Most days, the work gets done.
Frequently Asked Questions
Can I film videos in an even smaller space than yours?
Yes. The principles scale down. Tighter framing, closer microphone placement, and careful control of what the camera sees. Your filming zone can be the width of your shoulders and the depth of your outstretched arm.
What if my room has no plain wall?
Use the sheet solution. Hang it anywhere you can create a stable setup. Some creators film with their back to a curtained window. Others use a portable clothes rack to hang a backdrop.
What if I share my room and cannot control the space?
Negotiate recording times. Even thirty minutes of uninterrupted quiet can produce a video. Record when your roommate is out. Communicate your schedule clearly.
Do I need a ring light or can I use regular room lights?
Room lights are typically positioned on the ceiling and create unflattering shadows. A light source positioned in front of your face produces better results. A ring light is the affordable option designed for this purpose.
How do you deal with noise from outside your control?
Short of professional soundproofing which is expensive, you manage noise through microphone technique and recording timing. Record during quieter hours. Position the microphone close to your mouth. Use software noise reduction. Accept that some noise will remain.
Film in Your Space Today
Your room is not too small. Your walls are not too ugly. Your lighting is not too dim. These are stories you tell yourself to avoid the discomfort of starting.
Set up your phone on whatever stable surface you have. Face a section of wall that is reasonably clean. Turn on whatever light is available. Record a sixty-second test video.
Watch it back. Notice what the camera actually captured versus what you see when you look around the room. The camera only sees what you point it at. Point it at the good part. The rest of the room does not exist on camera.
Your small room is enough. It has always been enough. You just needed to learn how to make it work. Now you know. Go record something.